The Making Process of a Ceramic Aroma Diffuser
Ceramic aroma diffusers are elegant and functional pieces that combine artistry with practicality. The process of creating one involves several meticulous steps, from shaping the clay to glazing and firing. Below is a detailed overview of how a ceramic aroma diffuser is made.
1. Design and Preparation
The process begins with a design concept. The artisan sketches the diffuser’s shape, considering both aesthetics and functionality—ensuring it can hold essential oils and water while emitting a steady fragrance. Once the design is finalized, the appropriate type of clay is selected (usually stoneware or porcelain for durability and heat resistance).
2. Shaping the Clay
The clay is wedged to remove air bubbles and then shaped using one of the following techniques:
- Hand-building: The artisan molds the clay by hand or with simple tools, creating organic, unique forms.
- Potter’s Wheel: For symmetrical designs, the clay is thrown on a wheel and shaped into a vessel.
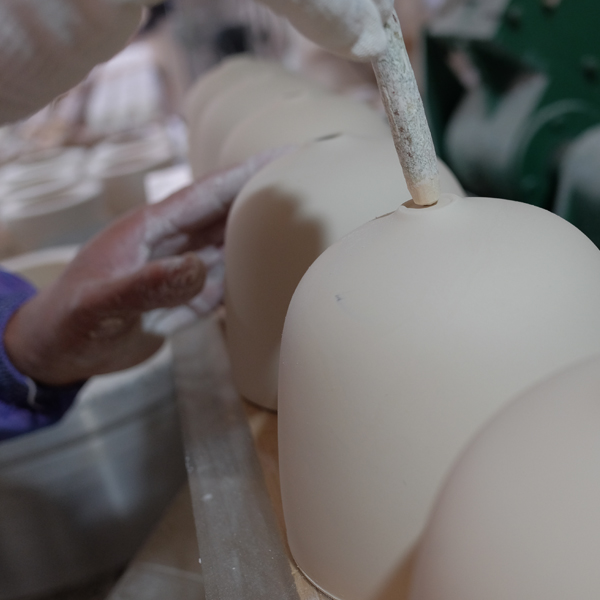
- Slip Casting: Liquid clay (slip) is poured into a pre-made plaster mold for consistent, intricate designs.
Once shaped, the piece is left to dry until it reaches the “leather-hard” stage, where it is firm but still workable.
3. Trimming and Detailing
At this stage, excess clay is trimmed away, and finer details—such as carvings, textures, or holes for fragrance dispersion—are added. The artisan ensures the base is smooth and stable.
4. Drying (Bone-Dry Stage)
The piece is left to air-dry completely, a crucial step to prevent cracking during firing. This may take several days, depending on humidity and thickness.
5. First Firing (Bisque Firing)
The dried ceramic is fired in a kiln at around 900–1000°C (1650–1830°F). This transforms the fragile clay into a porous, durable bisque ware, ready for glazing.
6. Glazing
The bisque-fired piece is dipped, brushed, or sprayed with glaze, which adds color, texture, and a waterproof seal. Special care is taken to leave the interior unglazed if the diffuser uses porous ceramic to absorb oils. Alternatively, a waterproof glaze is applied if the design uses a water reservoir.
7. Final Firing (Glaze Firing)
The glazed ceramic undergoes a second firing at a higher temperature (typically 1200–1300°C / 2200–2370°F), melting the glaze into a smooth, glass-like finish.
8. Quality Check and Assembly
After cooling, the diffuser is inspected for flaws. If it includes additional components (like wooden lids or metal inserts), they are carefully attached.
9. Packaging
The finished product is packed securely, often with care instructions, ready to bring soothing aromas into homes.
Conclusion
Crafting a ceramic aroma diffuser is a blend of skill, patience, and creativity. Each piece is unique, reflecting the artisan’s touch while serving as a beautiful, functional object. Whether handmade or mass-produced, the process ensures a high-quality product that enhances relaxation and ambiance.
Post time: Apr-02-2025